Click on Create Design to enter the details about your design. You will get a screen as given below:
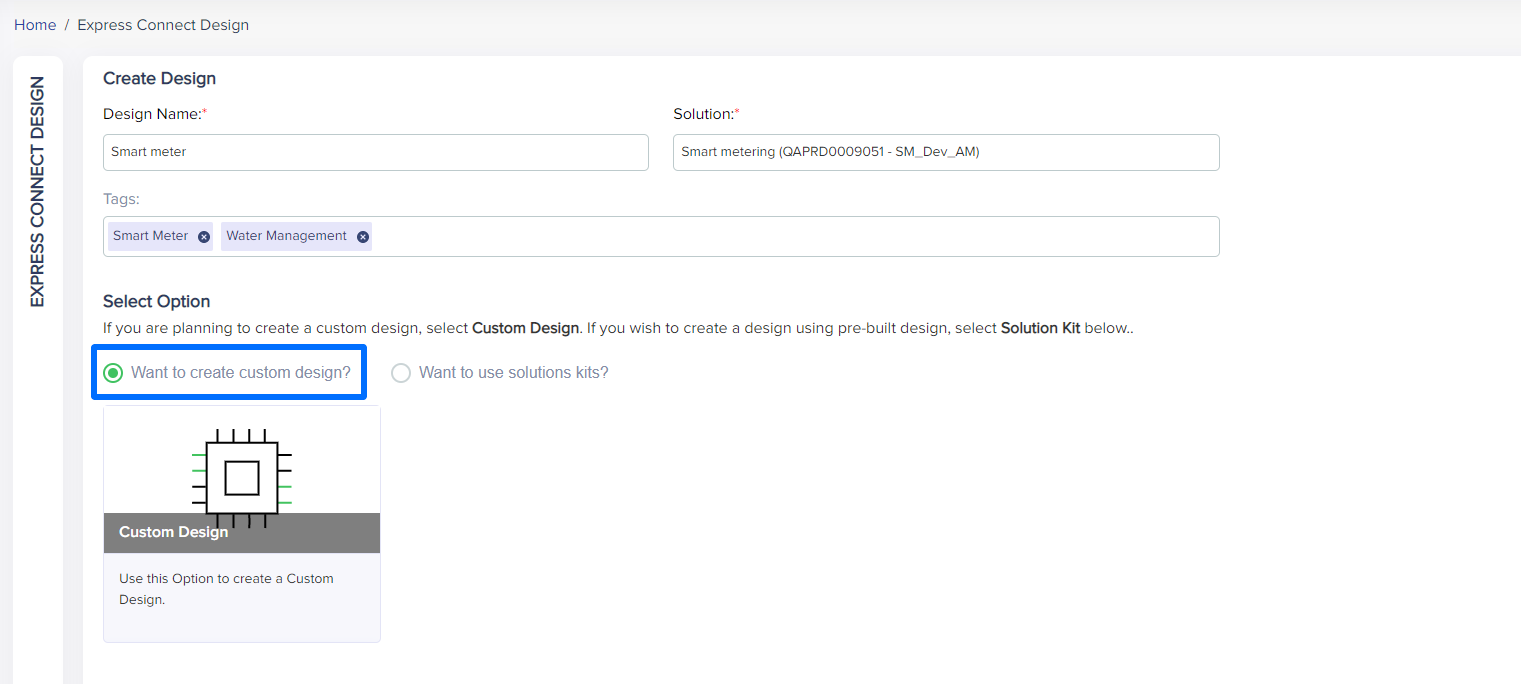
(Screen: Create Design)
After entering the design name, the solution that you want to create the design for and tags related to the design, you need to select the components for the design that will be included as part of your solution – sensors, gateways and I/O expanders from the list given in the next screen:

(Screen: Product Selector)
You can even search the products by their part numbers. Once you have selected the required components, you can check the list in Workbench.
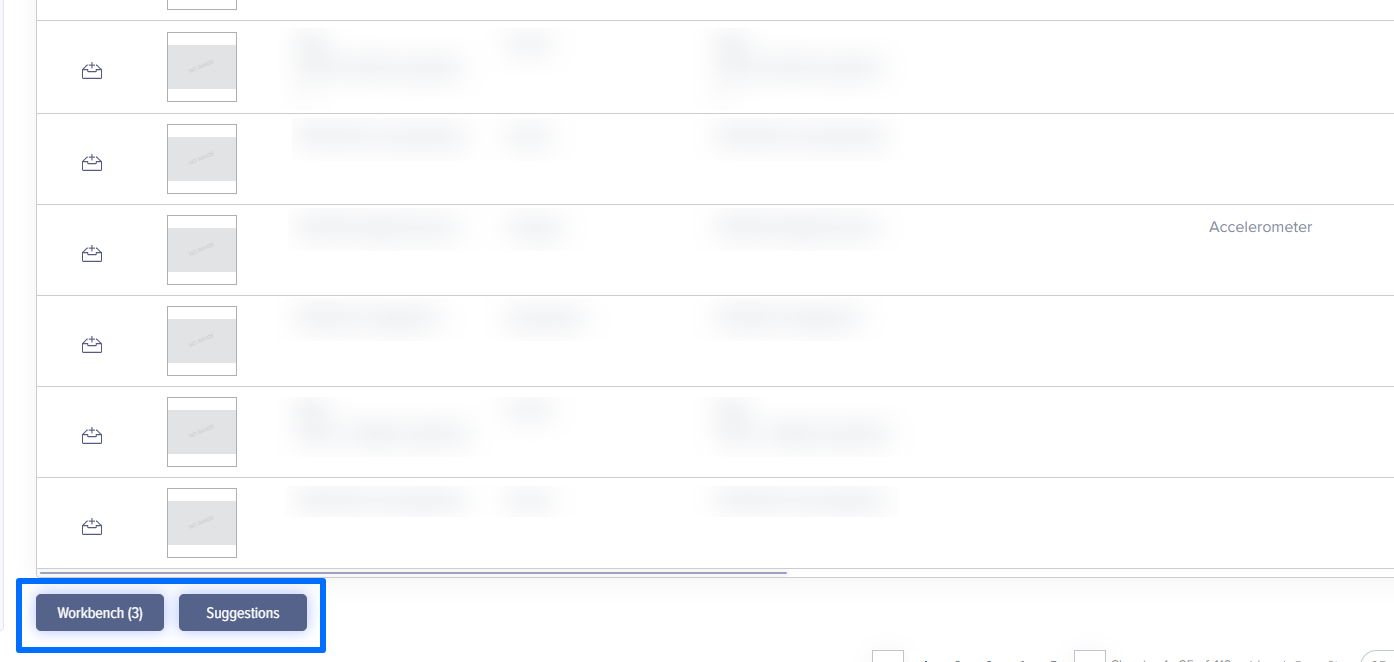
(Screen: Workbench)
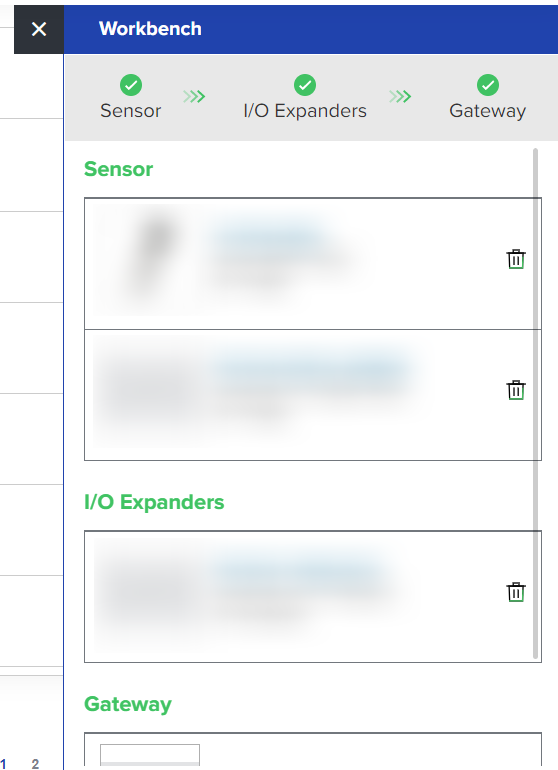
(Screen: Workbench Details)
You can start designing the flow only if the validation rules are followed. Hence, you need to make sure that you have selected proper components to start the designing process.
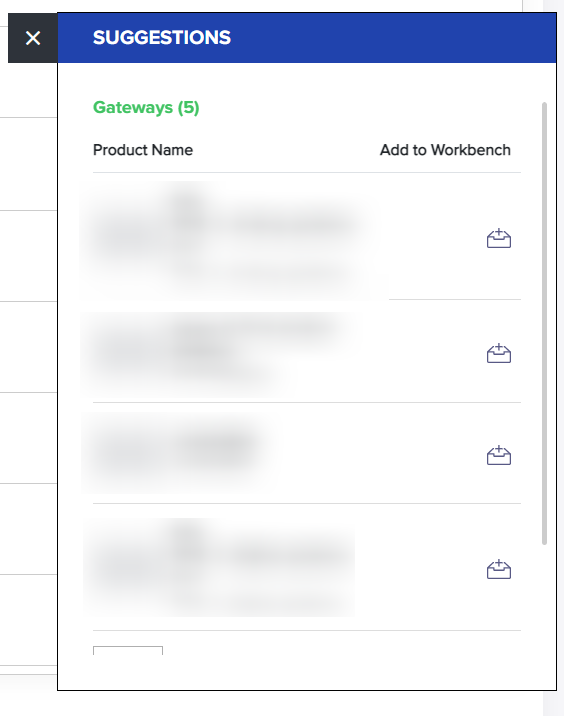
(Screen: ExpressConnect_Suggestions)
You can also download the list of hardware by clicking on the CSV icon as given below:

(Screen: Download Hardware)
Note: You can continue with designing even without selecting an I/O Expander.
Once the flow is designed, you can publish it as shown in the screen below:
 (Screen: Publish Design)
You will get a pop-up asking to select authentication type. If you want to connect the design with devices from Device Management module, you need to select Token as your authentication type. For more instructions, you can check Manage Device.
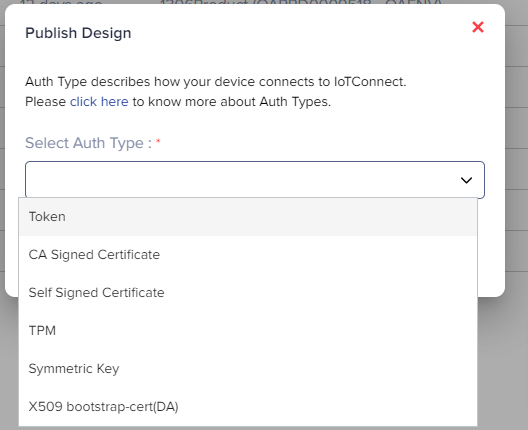
(Screen: Publish Design_Authentication Type)